For The Love of Clean Bones
The Dermestid Beetles & Hydrogen Peroxide Method
We often use this method as its one of the most fail proof ways of cleaning skulls and bones. It is an unquestionably dirty job, but we’ll leave most of it to our beetles!
There are a few different ways to clean your animal bones. Whether you’re cleaning them for an art project or simply removing all the dirt to reveal its natural beauty.
Here, I’ll explain the process in 3 easy steps.
Hey there my Lovelies!
So you may be asking at this point, where do you get bones from Jackie!?!
Well I’ll tell ya!
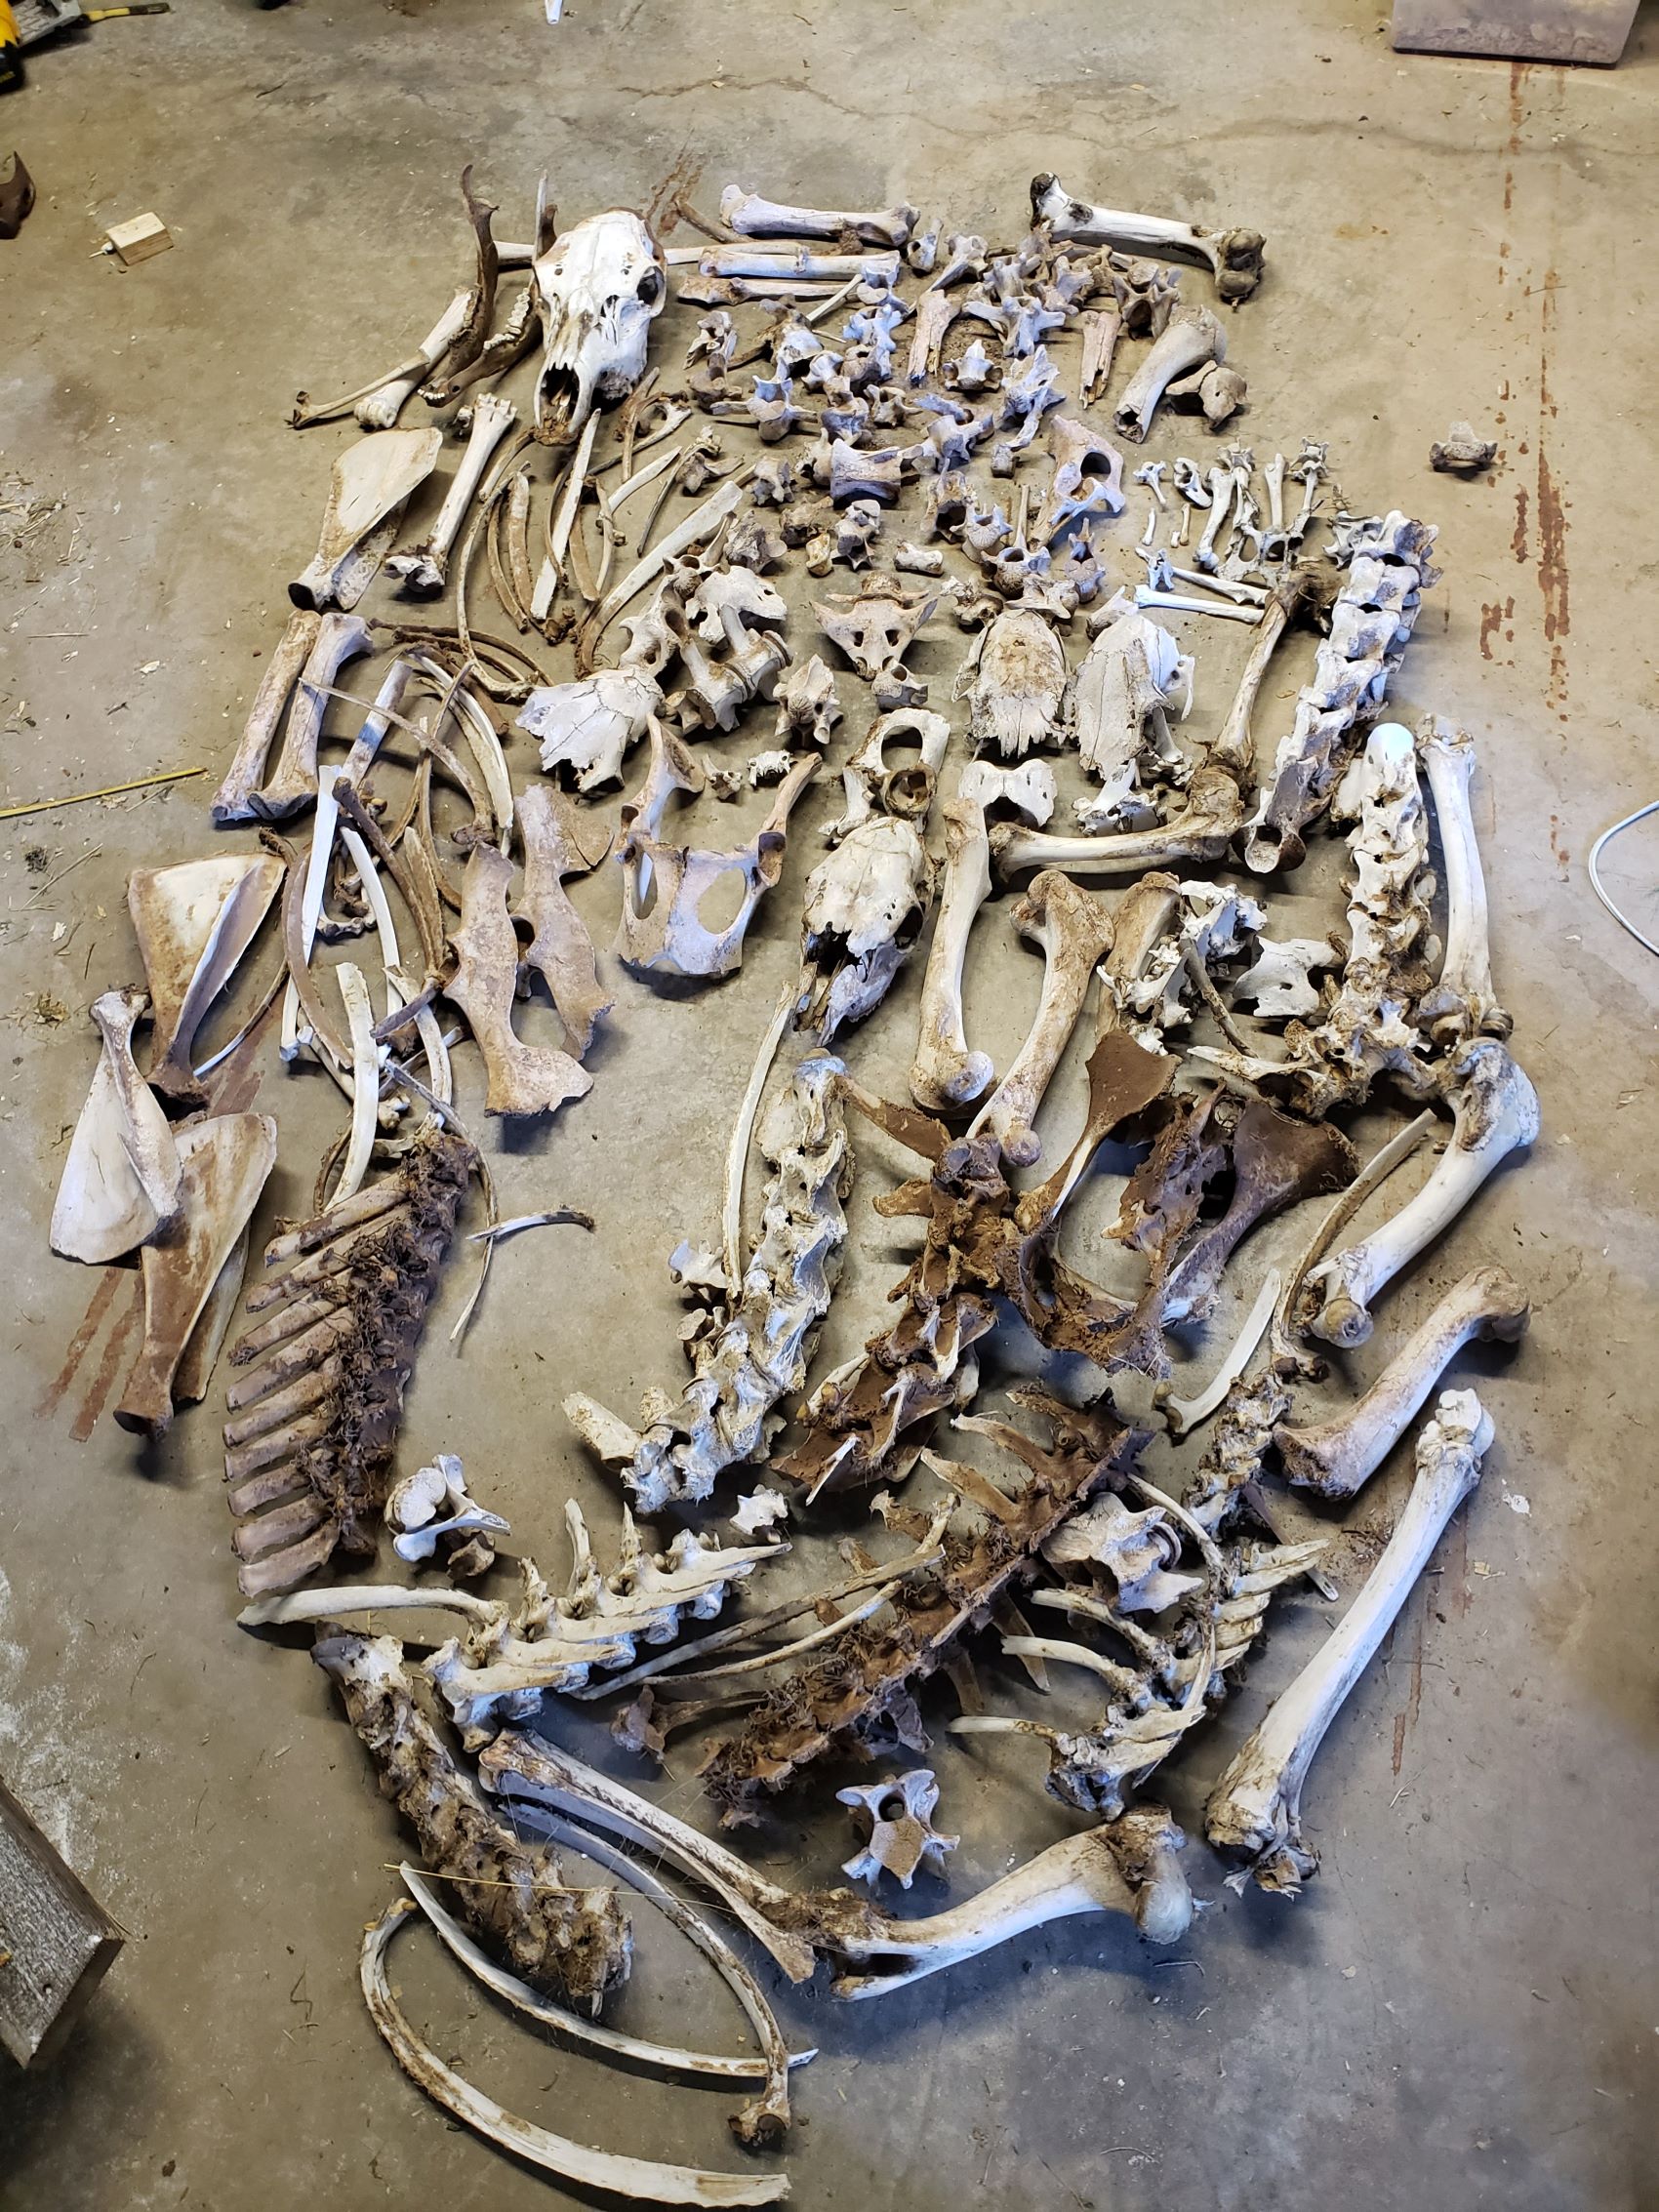
Papa Bones and I often go hunting for skulls and bones when we find the time.
In fact, we have a couple of what we call, “Honey Holes” that have proven to be great places for some awesome finds!
One would be surprised of what goodies can be found by way of road kill! Lol
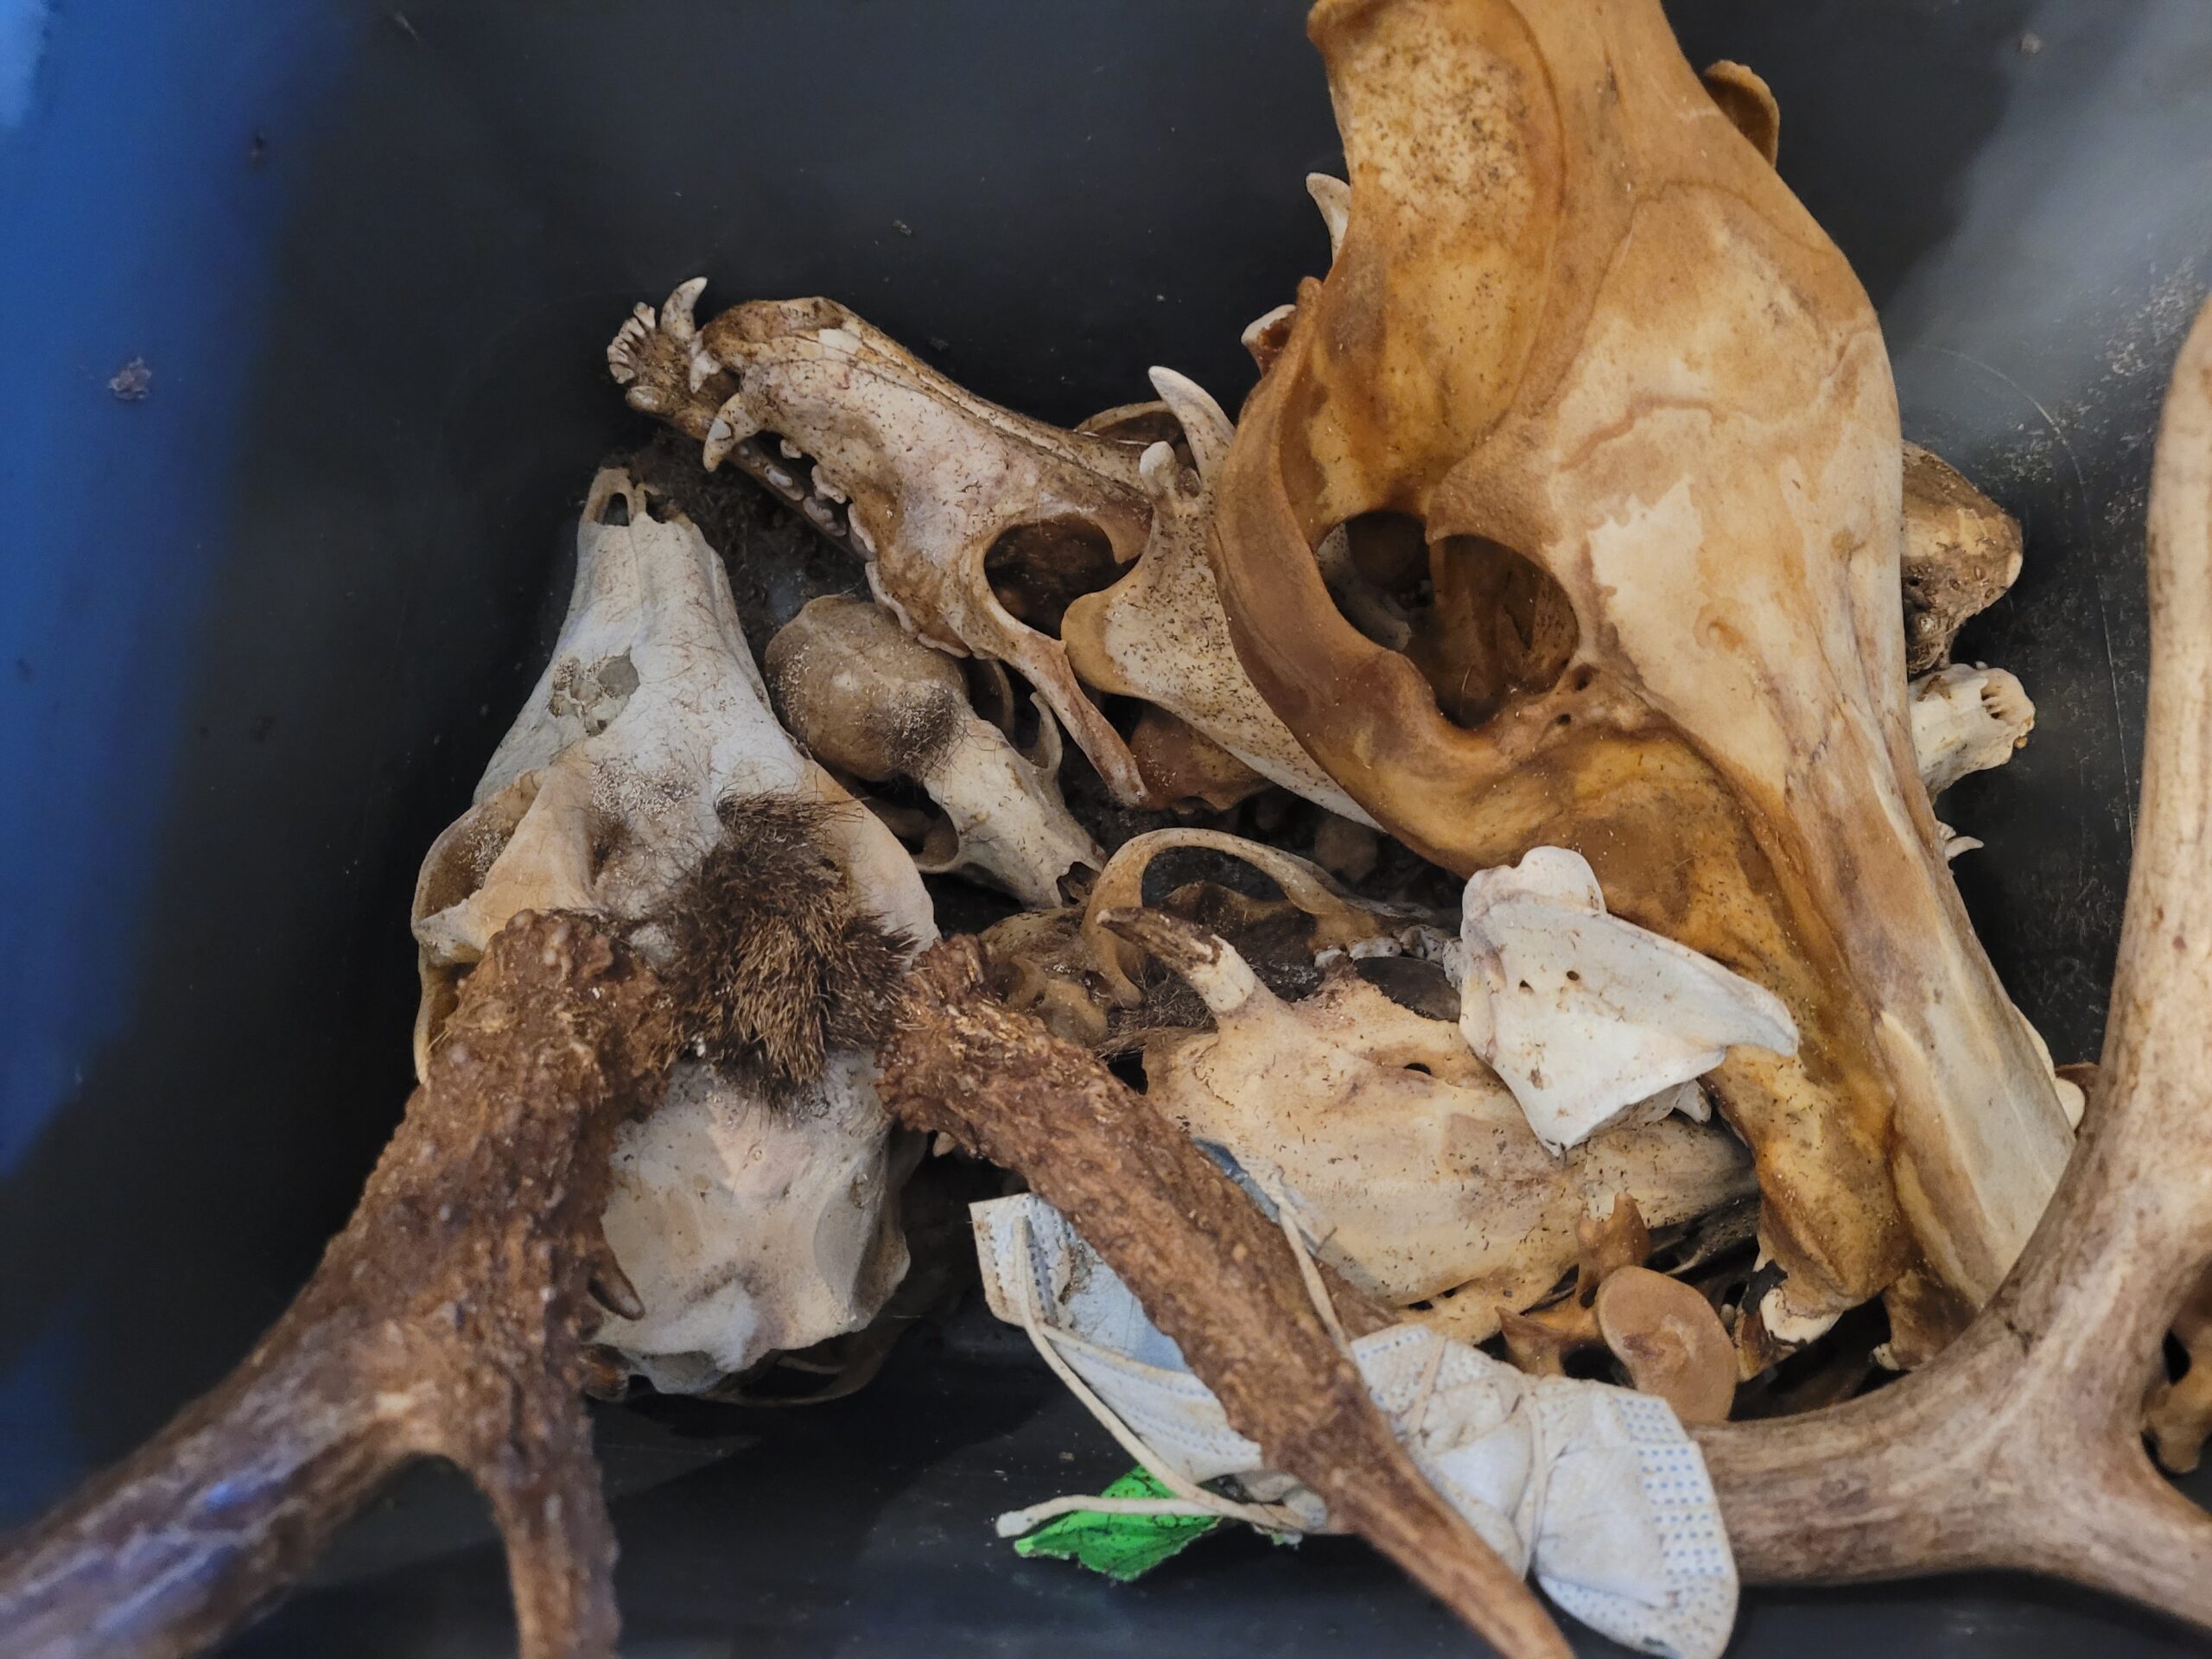
I also often buy skulls from dealers. There’s actually a pretty high demand for animal skulls, for those of us who are collectors.
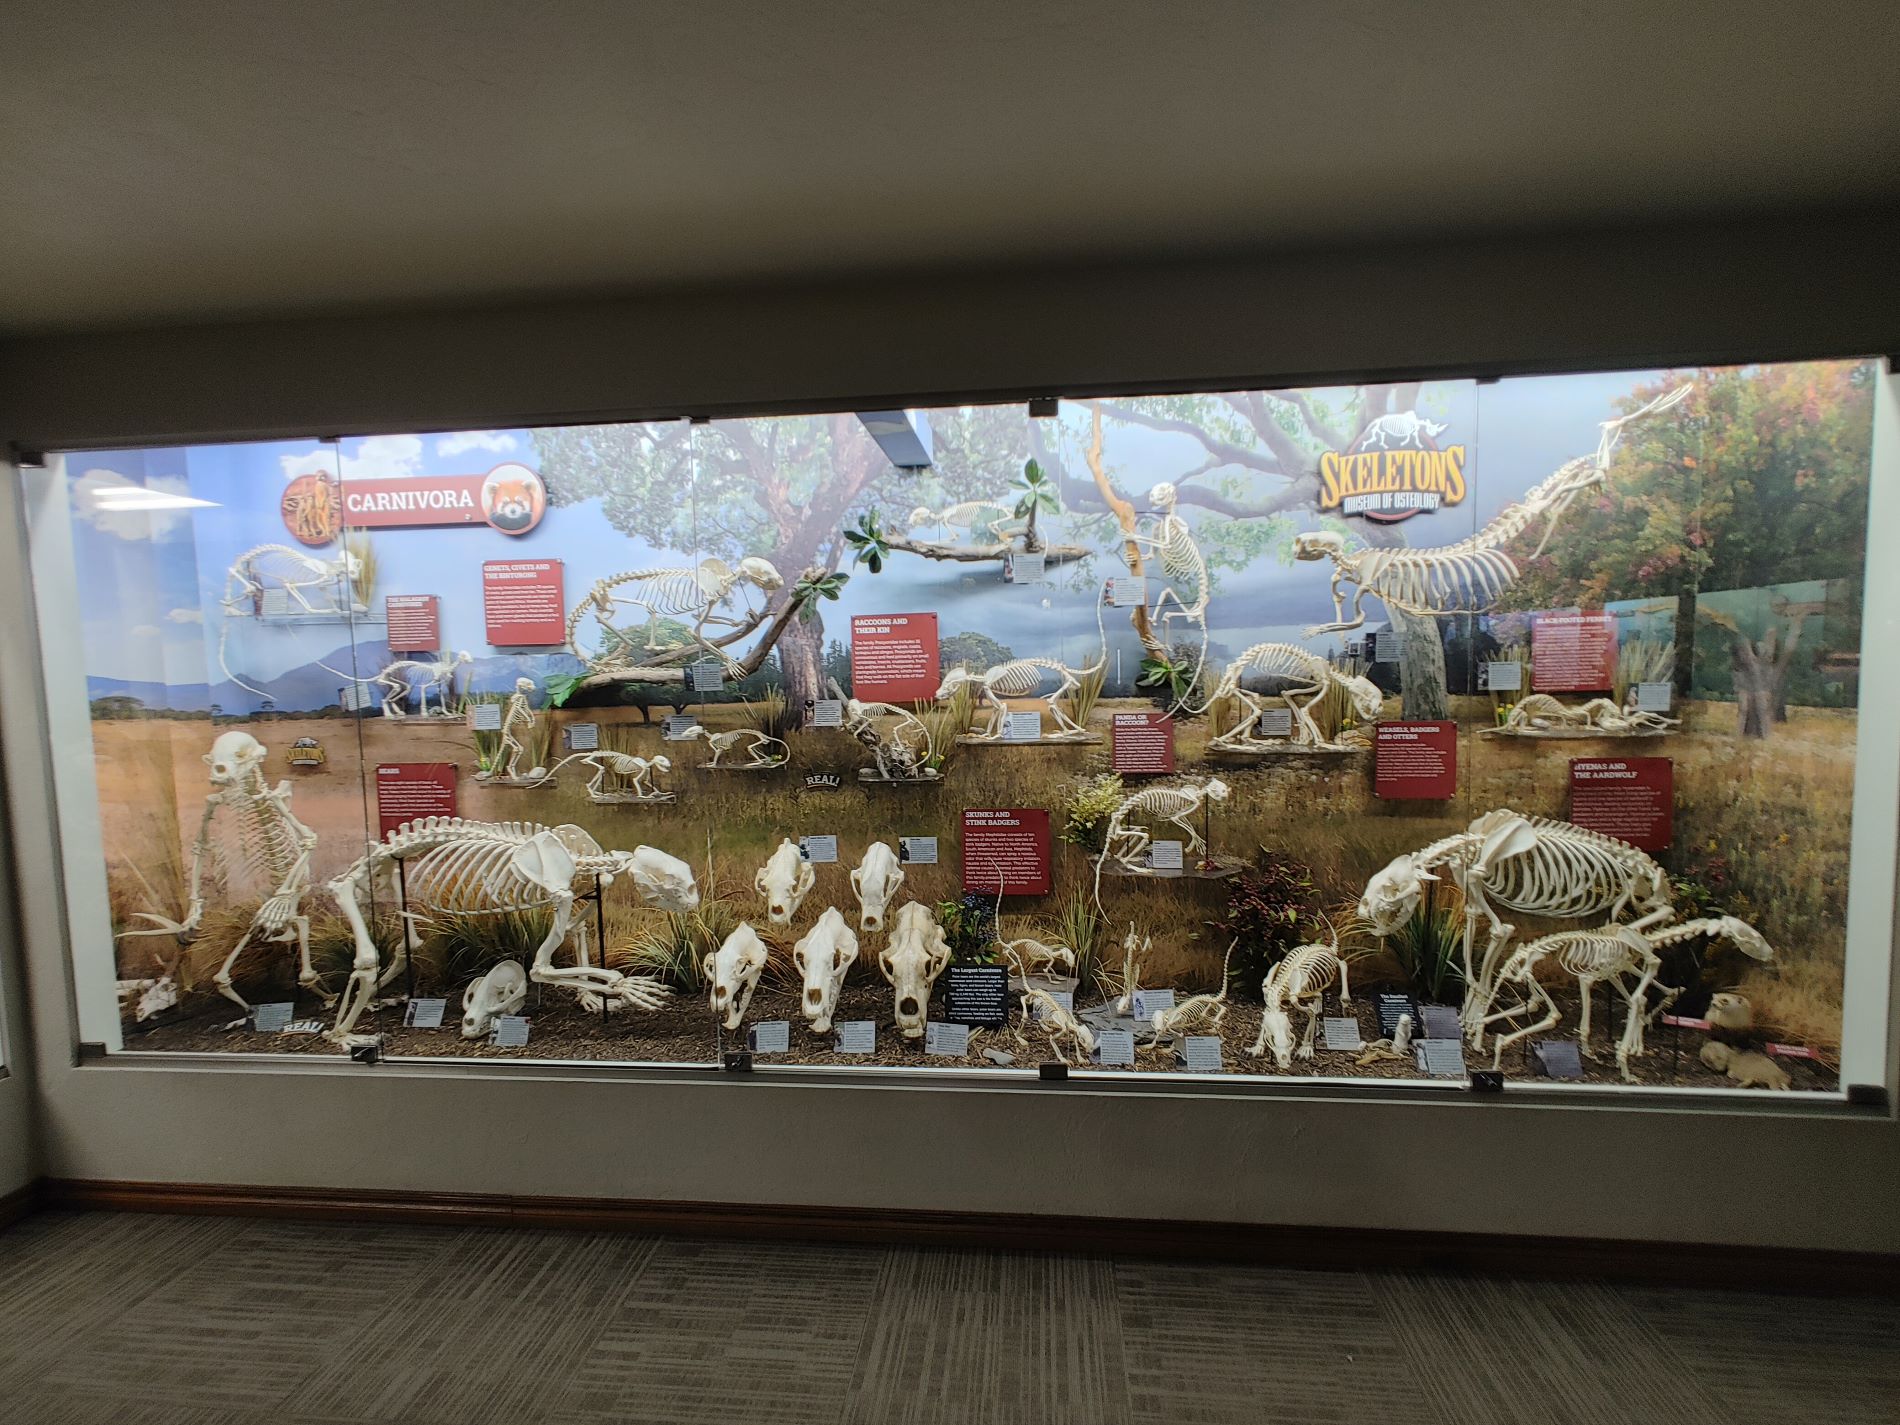
And, as luck would have it, we live in Oklahoma where we have the Museum of Osteology to score some unique pieces if we’d like.
Step 1. Dermestid Dirty Work
A few years ago, Bob and I decided to go ahead and purchase some Dermestid beetles to assist in the cleaning of our bones.
Dermestidae (Dermestes maculatus is the scientific name) are a type of beetle that is very often used by taxidermist, museums, and artists.
These little worker bees…I mean beetles, have also been used in criminal investigations and archeologists.
They are referred to as a number of ways including carpet beetles, skin beetles, and khapra beetles.
These scavengers rely on the dying and the dead to provide their cuisine, the decaying flesh of human and animal carcasses alike.
There are other varieties that partake of materials such as dead insects, pollen, and feathers. These little beasts have also been known to invade violin cases to devour the bow strings, which are typically made from animal bits.
Bob calls them our employee’s lol!
For years I would boil skulls to remove the flesh and/or brain matter, which sometimes worked depending how large the skull.
And also, this process is a bit smelly if you’re using your kitchen stove to boil said skull.
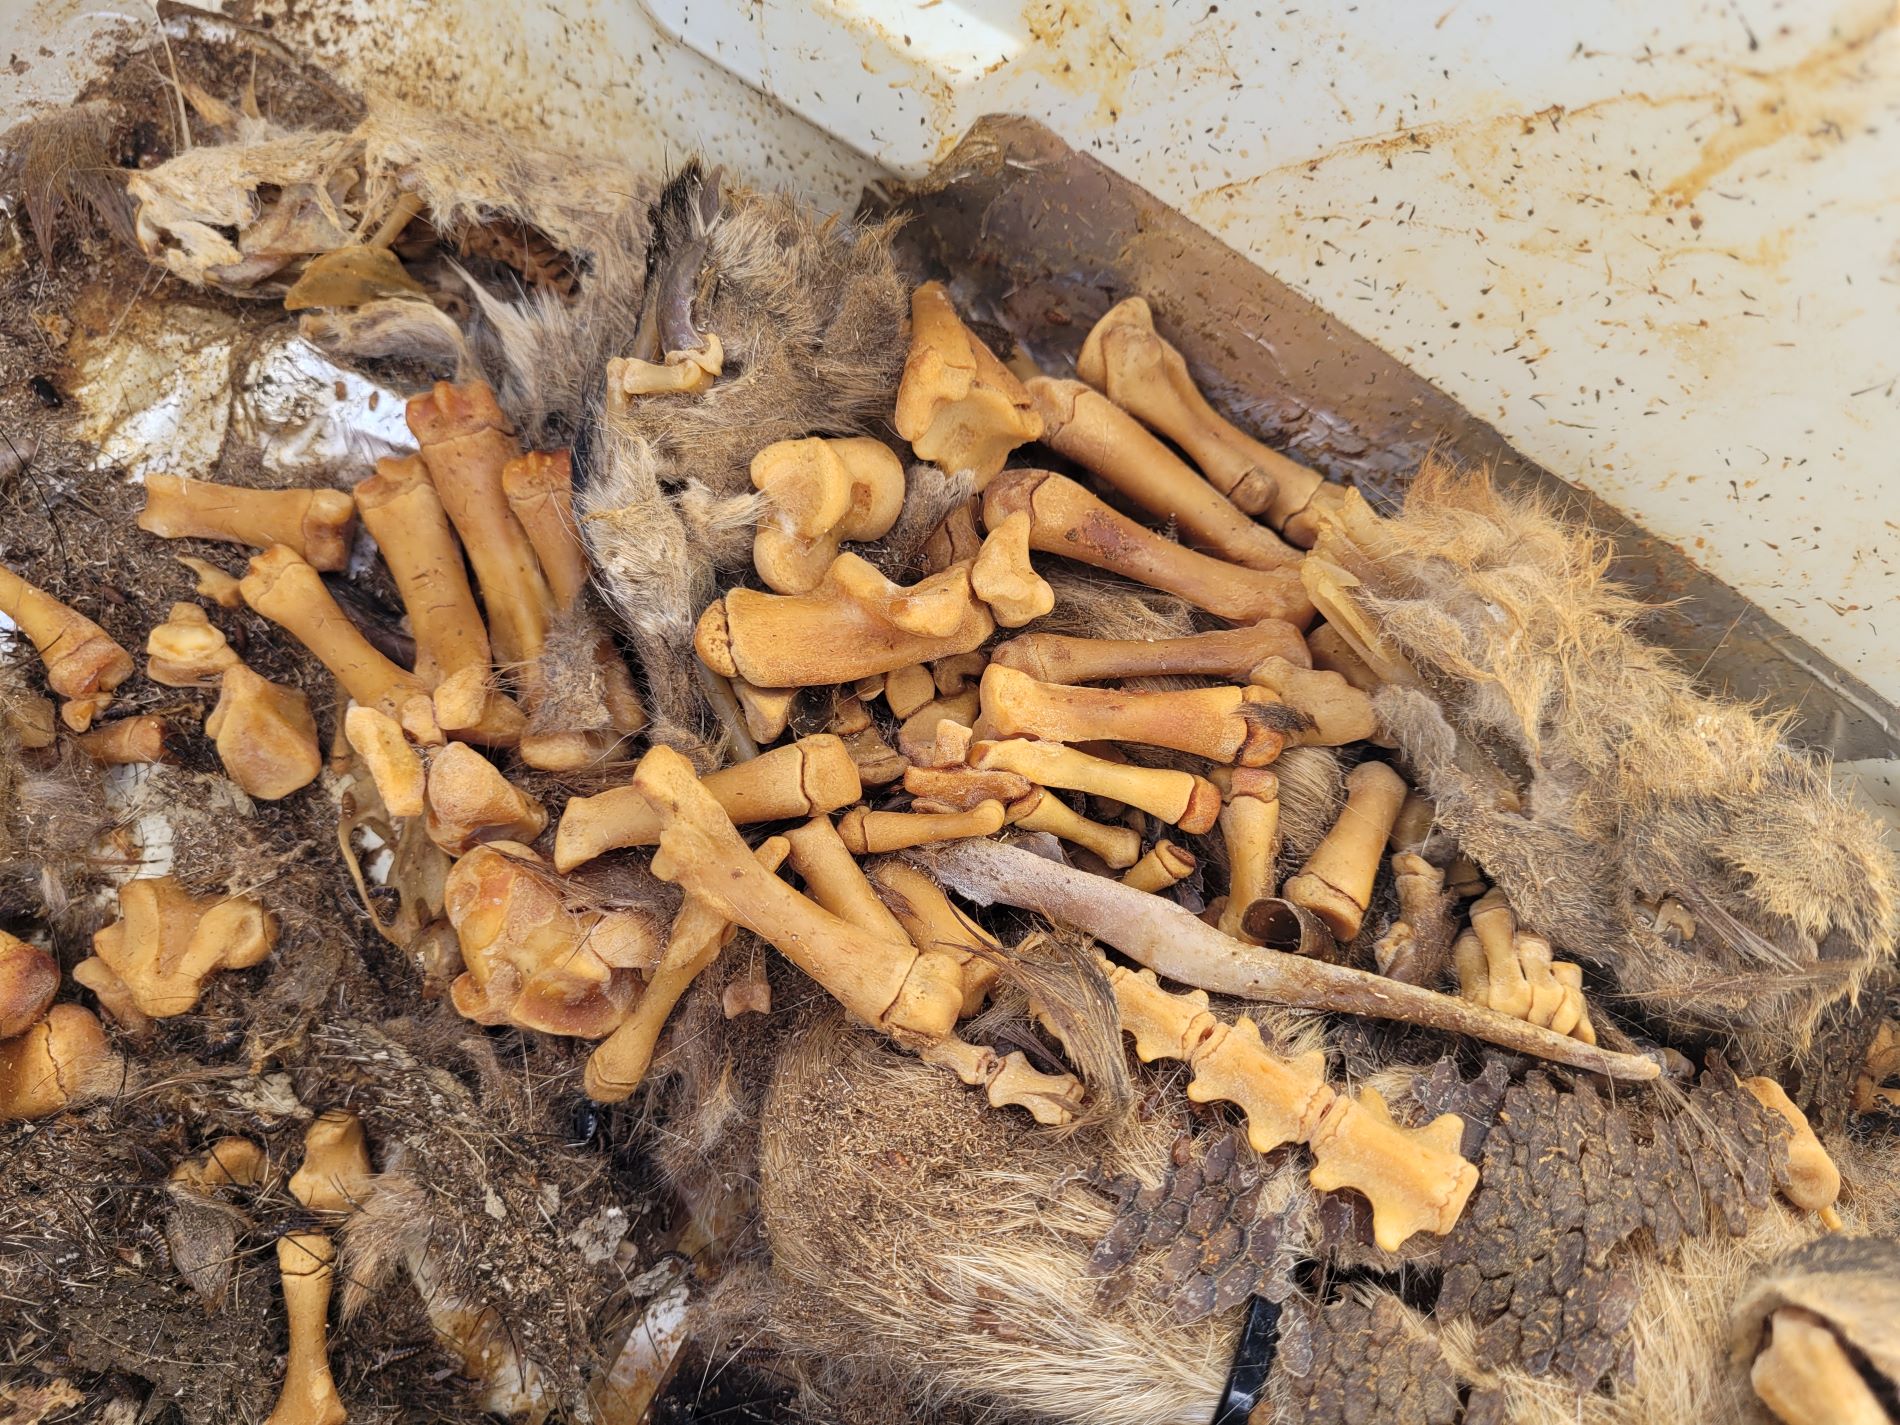
That’s where the beetles come in. They do an amazing job getting skulls ready for a project or display, with very little inconvenience.
There a few different websites you can purchase live Dermestid beetles from including Amazon and others.
We used to keep these little critters in large plastic storage bins before Bob got down to business, and made a proper set up.
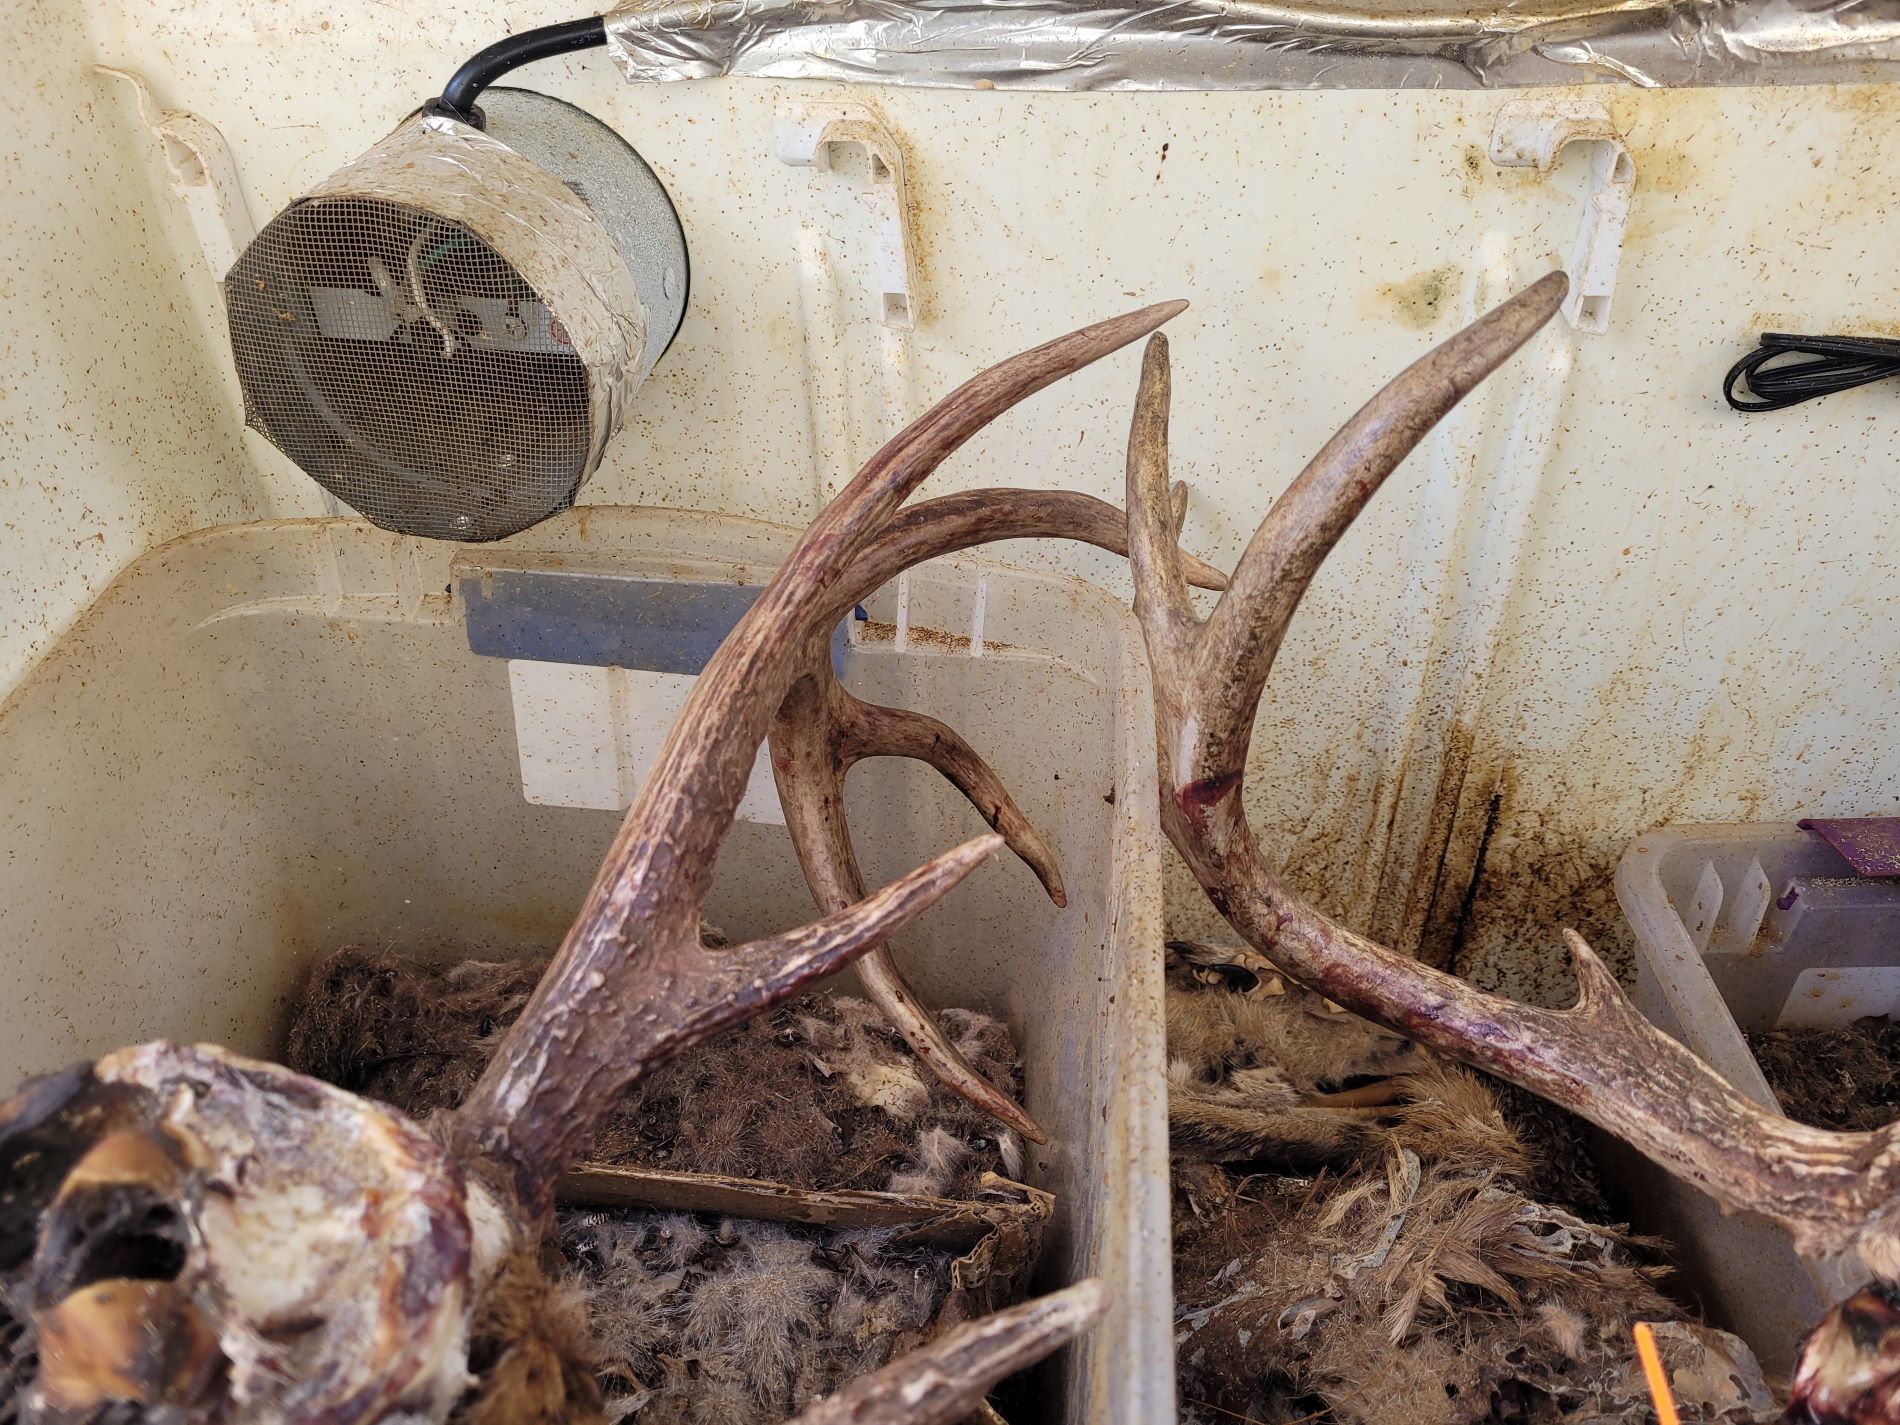
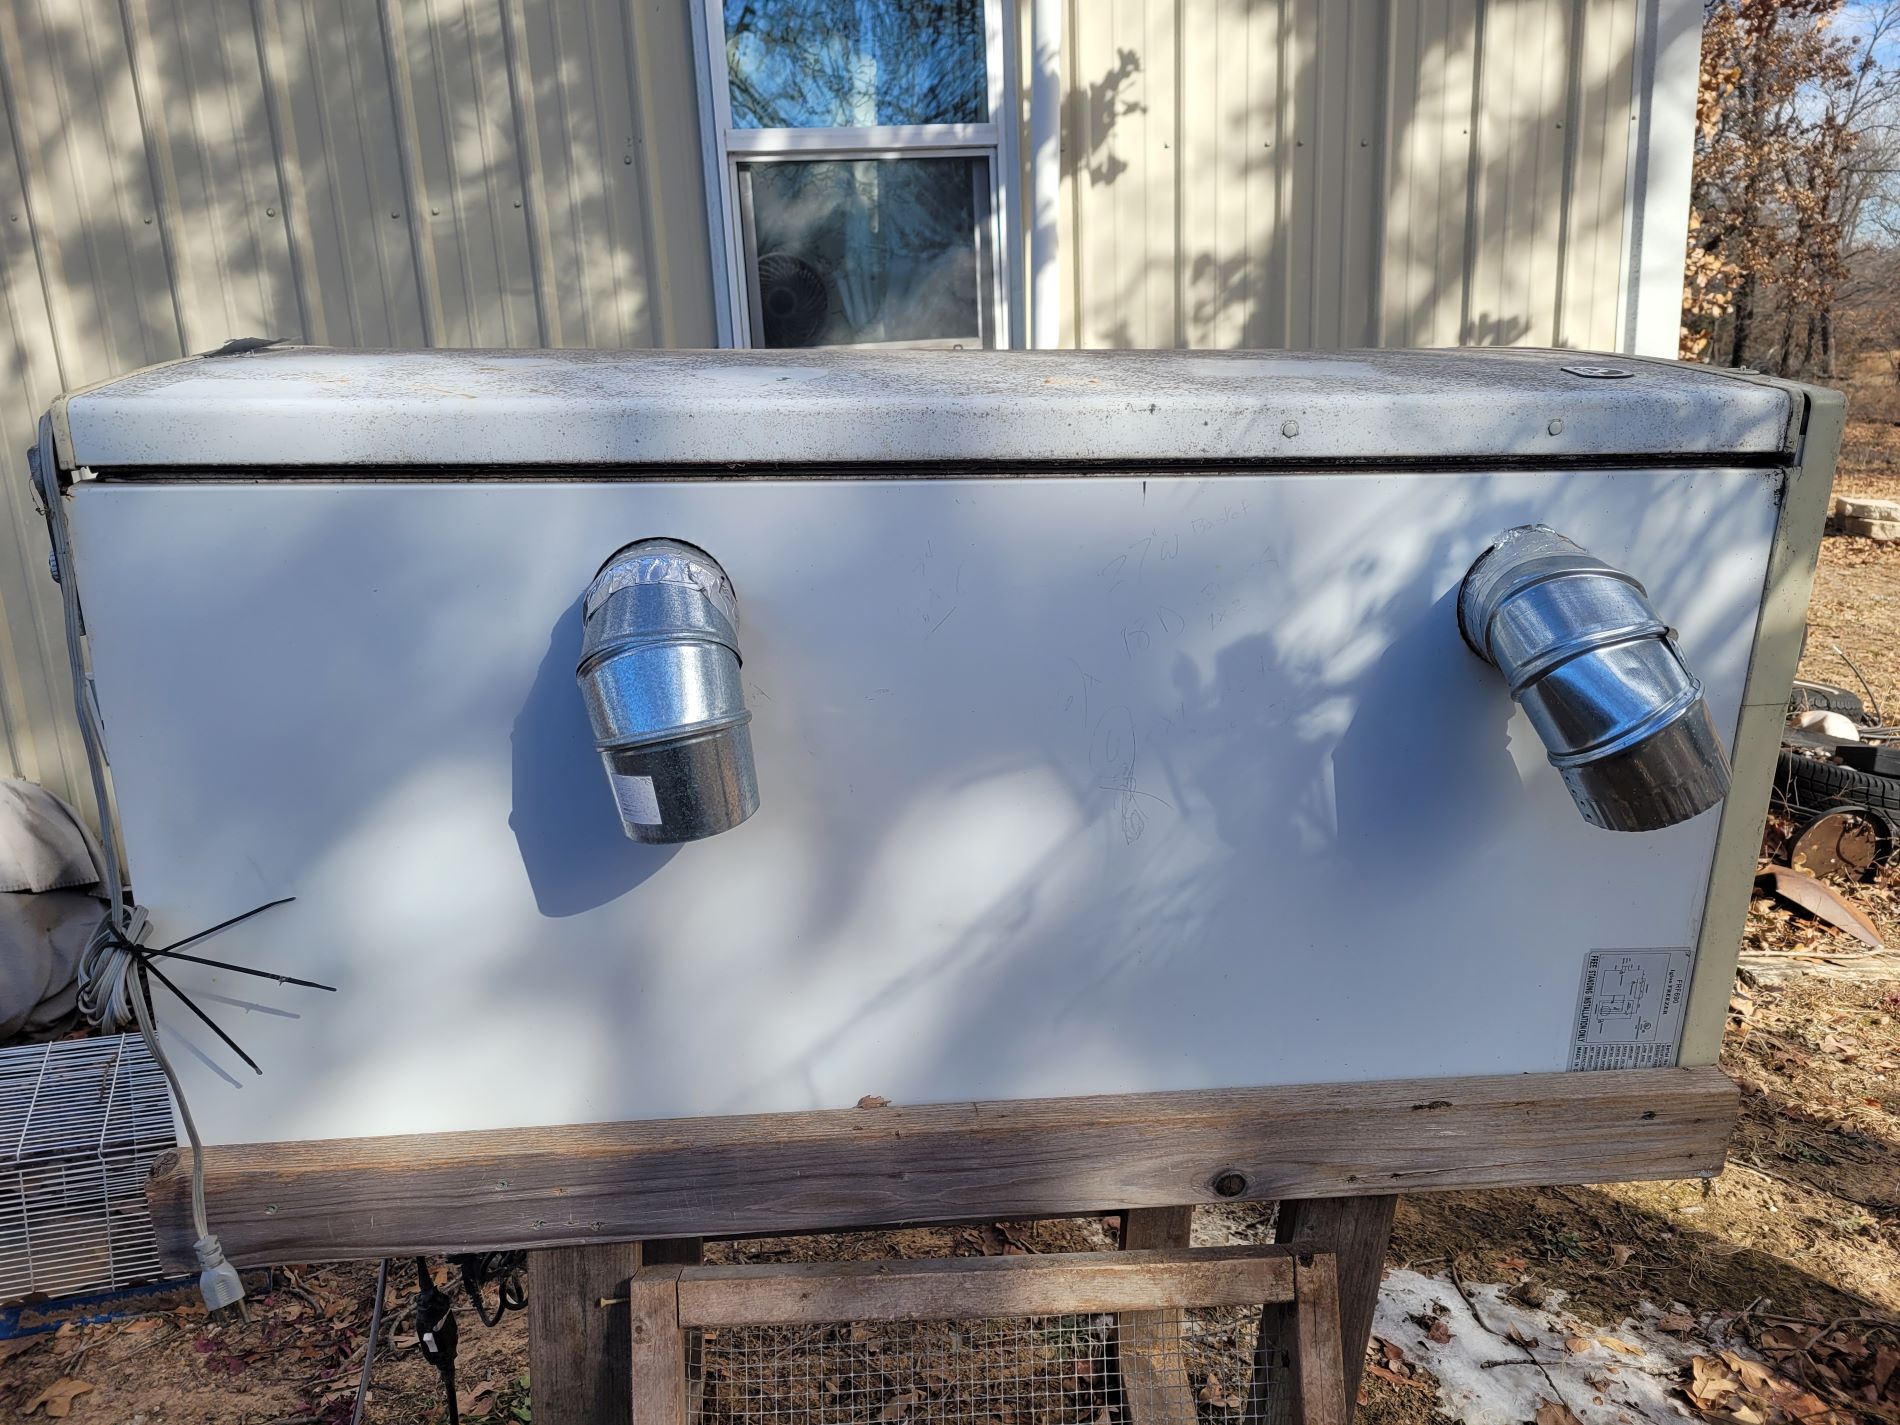
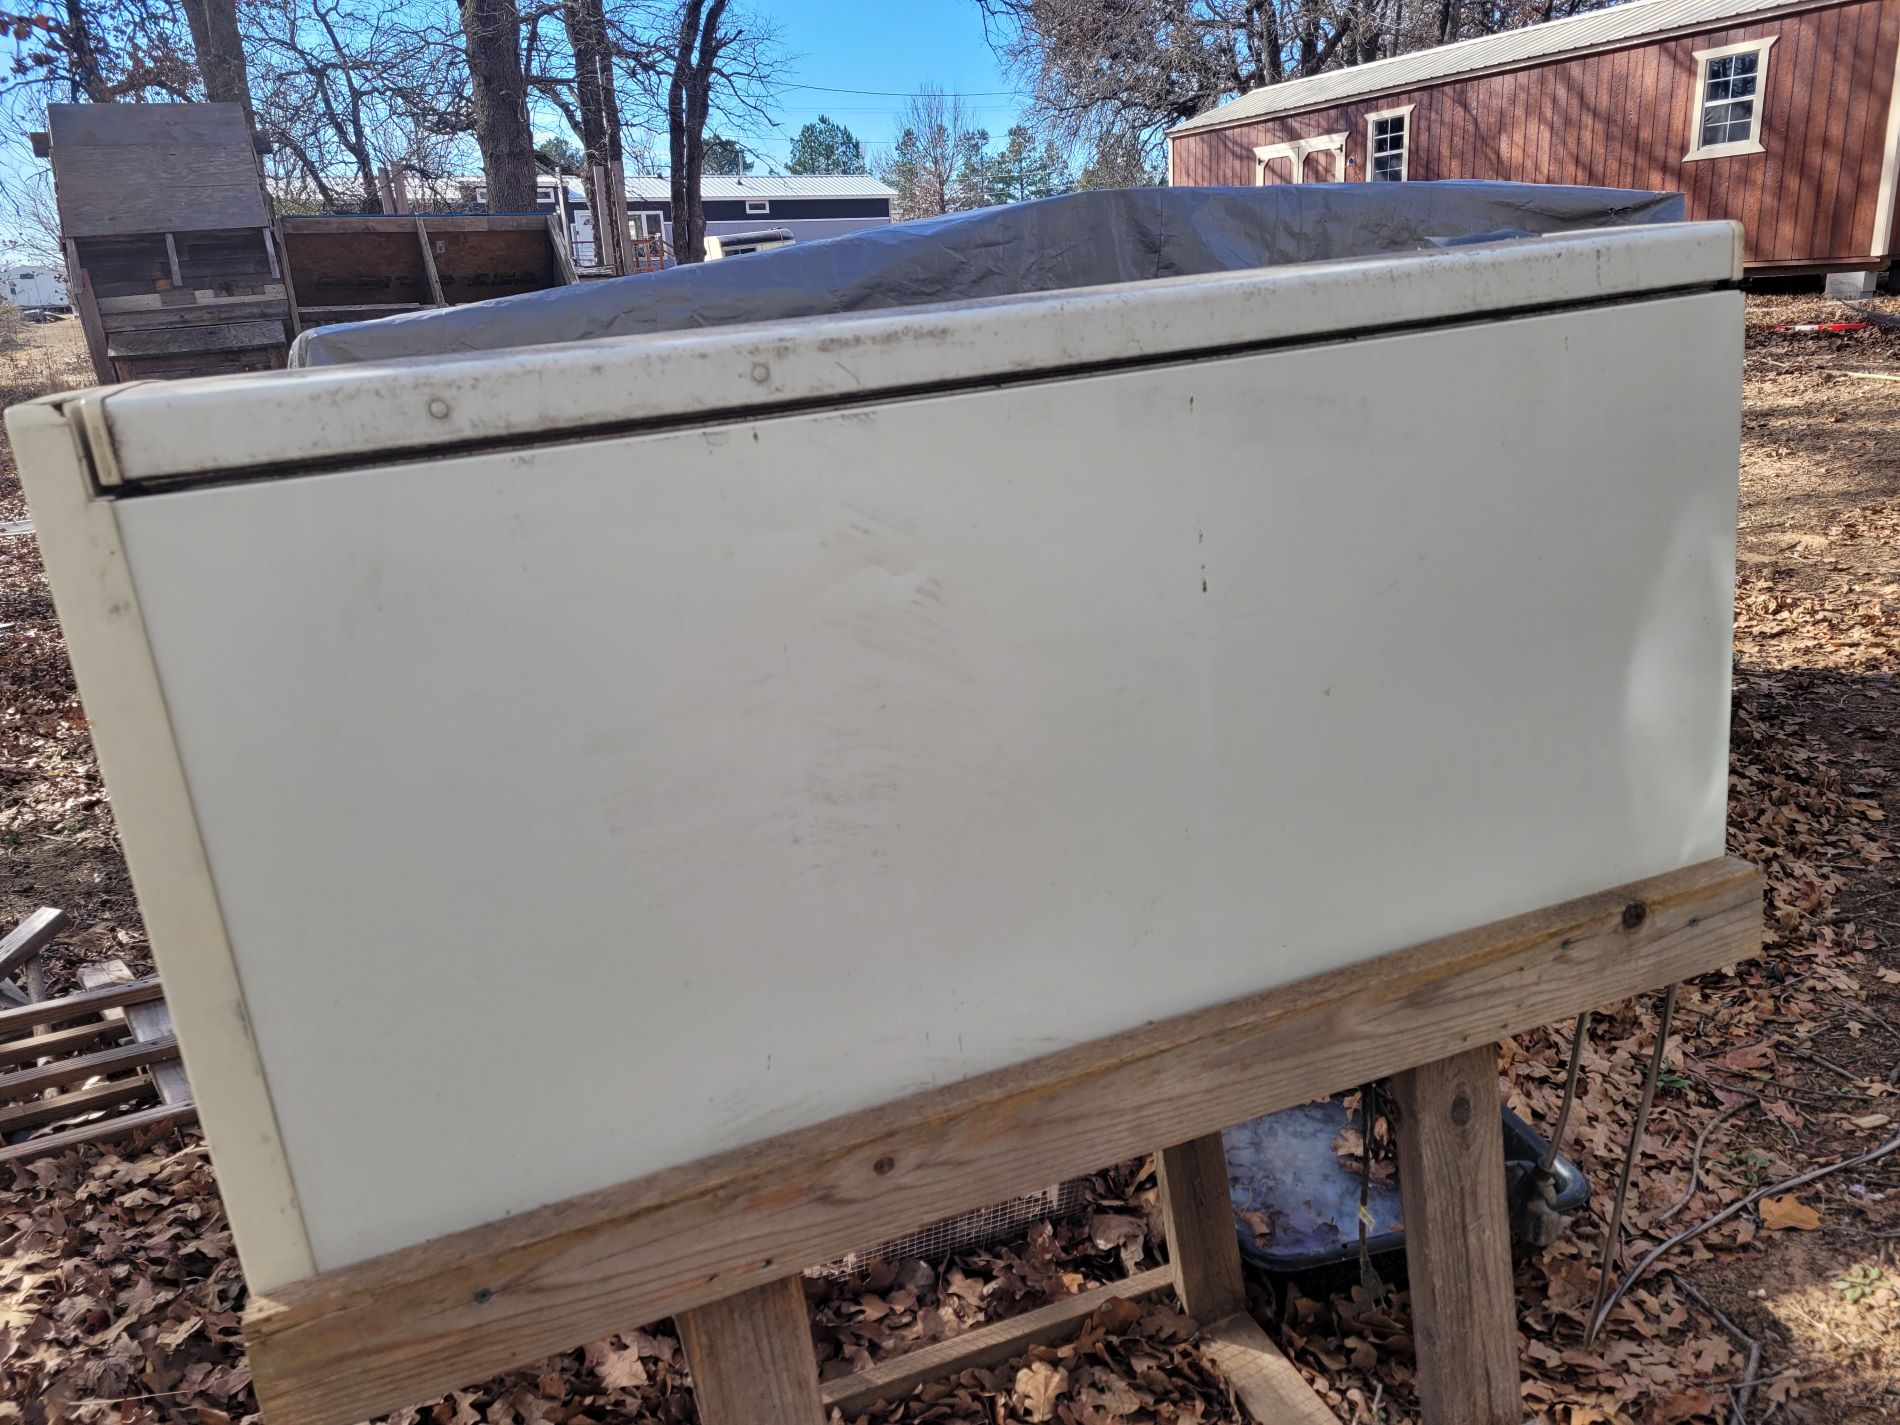
He ended up getting a deep freezer that no longer worked, and took out all of its innards. He turned it into their new home which included heat, air, and ventilation fans. (It does get pretty sinking in there.)
Now my first step, is to prepare the specimen to be cleaned.
Skinning the hide off the specimen, is the best way to go as the beetles do not eat fur. (Lesson unfortunately learned).
I have literally spent days combing through mountains of fur looking for a rat toe bone..it’s excruciating. Take my word for it, and skin that damn critter first.
Also it might not hurt to put the specimen in its own little container so to speak.
Bob starting using these little foil boats he made to keep all the bones of one critter in space. I also use small Tupperware containers and add holes to the bottom so the beetles can access it.
When the beetles are hard at work, they will often move small bones around, and it can be difficult matching the correct bones/teeth to their owner.
We have enough space in the enclosure to clean multiple skulls at the same time.
Once I have my little guy prepared, I add it to the beetles and wait a few days.
As you may not have ever had to ask yourself before, but yes. It can be difficult to get some of the beetles. lol
Some of the beetles try and stay inside the skull once I pull it out. I mean Hey, who wants to leave their food source. I get it.
But this should be avoided due to the fact that they are my employees, and I need these guys working.
If I were to add the skull/bone to the peroxide, it will surly kill the beetle.
Also, sometimes I use an air compressor, to blow out any access materials left behind.
The beetles are always growing, so they sometime leave larvae shells in crevices that are hard to get out. Long tweezers can also help in this process, and can be purchased on Amazon.
Step 2: Degreasing
Now this is by far the longest step in the process, as it can take weeks of soaking to achieve this goal.
There have been countless degreasers and chemicals that have been tested over the years, but that’s not the entire process, you’ll want to soap & soak then, dump & dunk. Lol …
I use many different size containers for my critters depending on their size. Something small like a rat or mole skull, wouldn’t need one as large as an elk skull.
So the amount of degreasing product will vary depending on this.
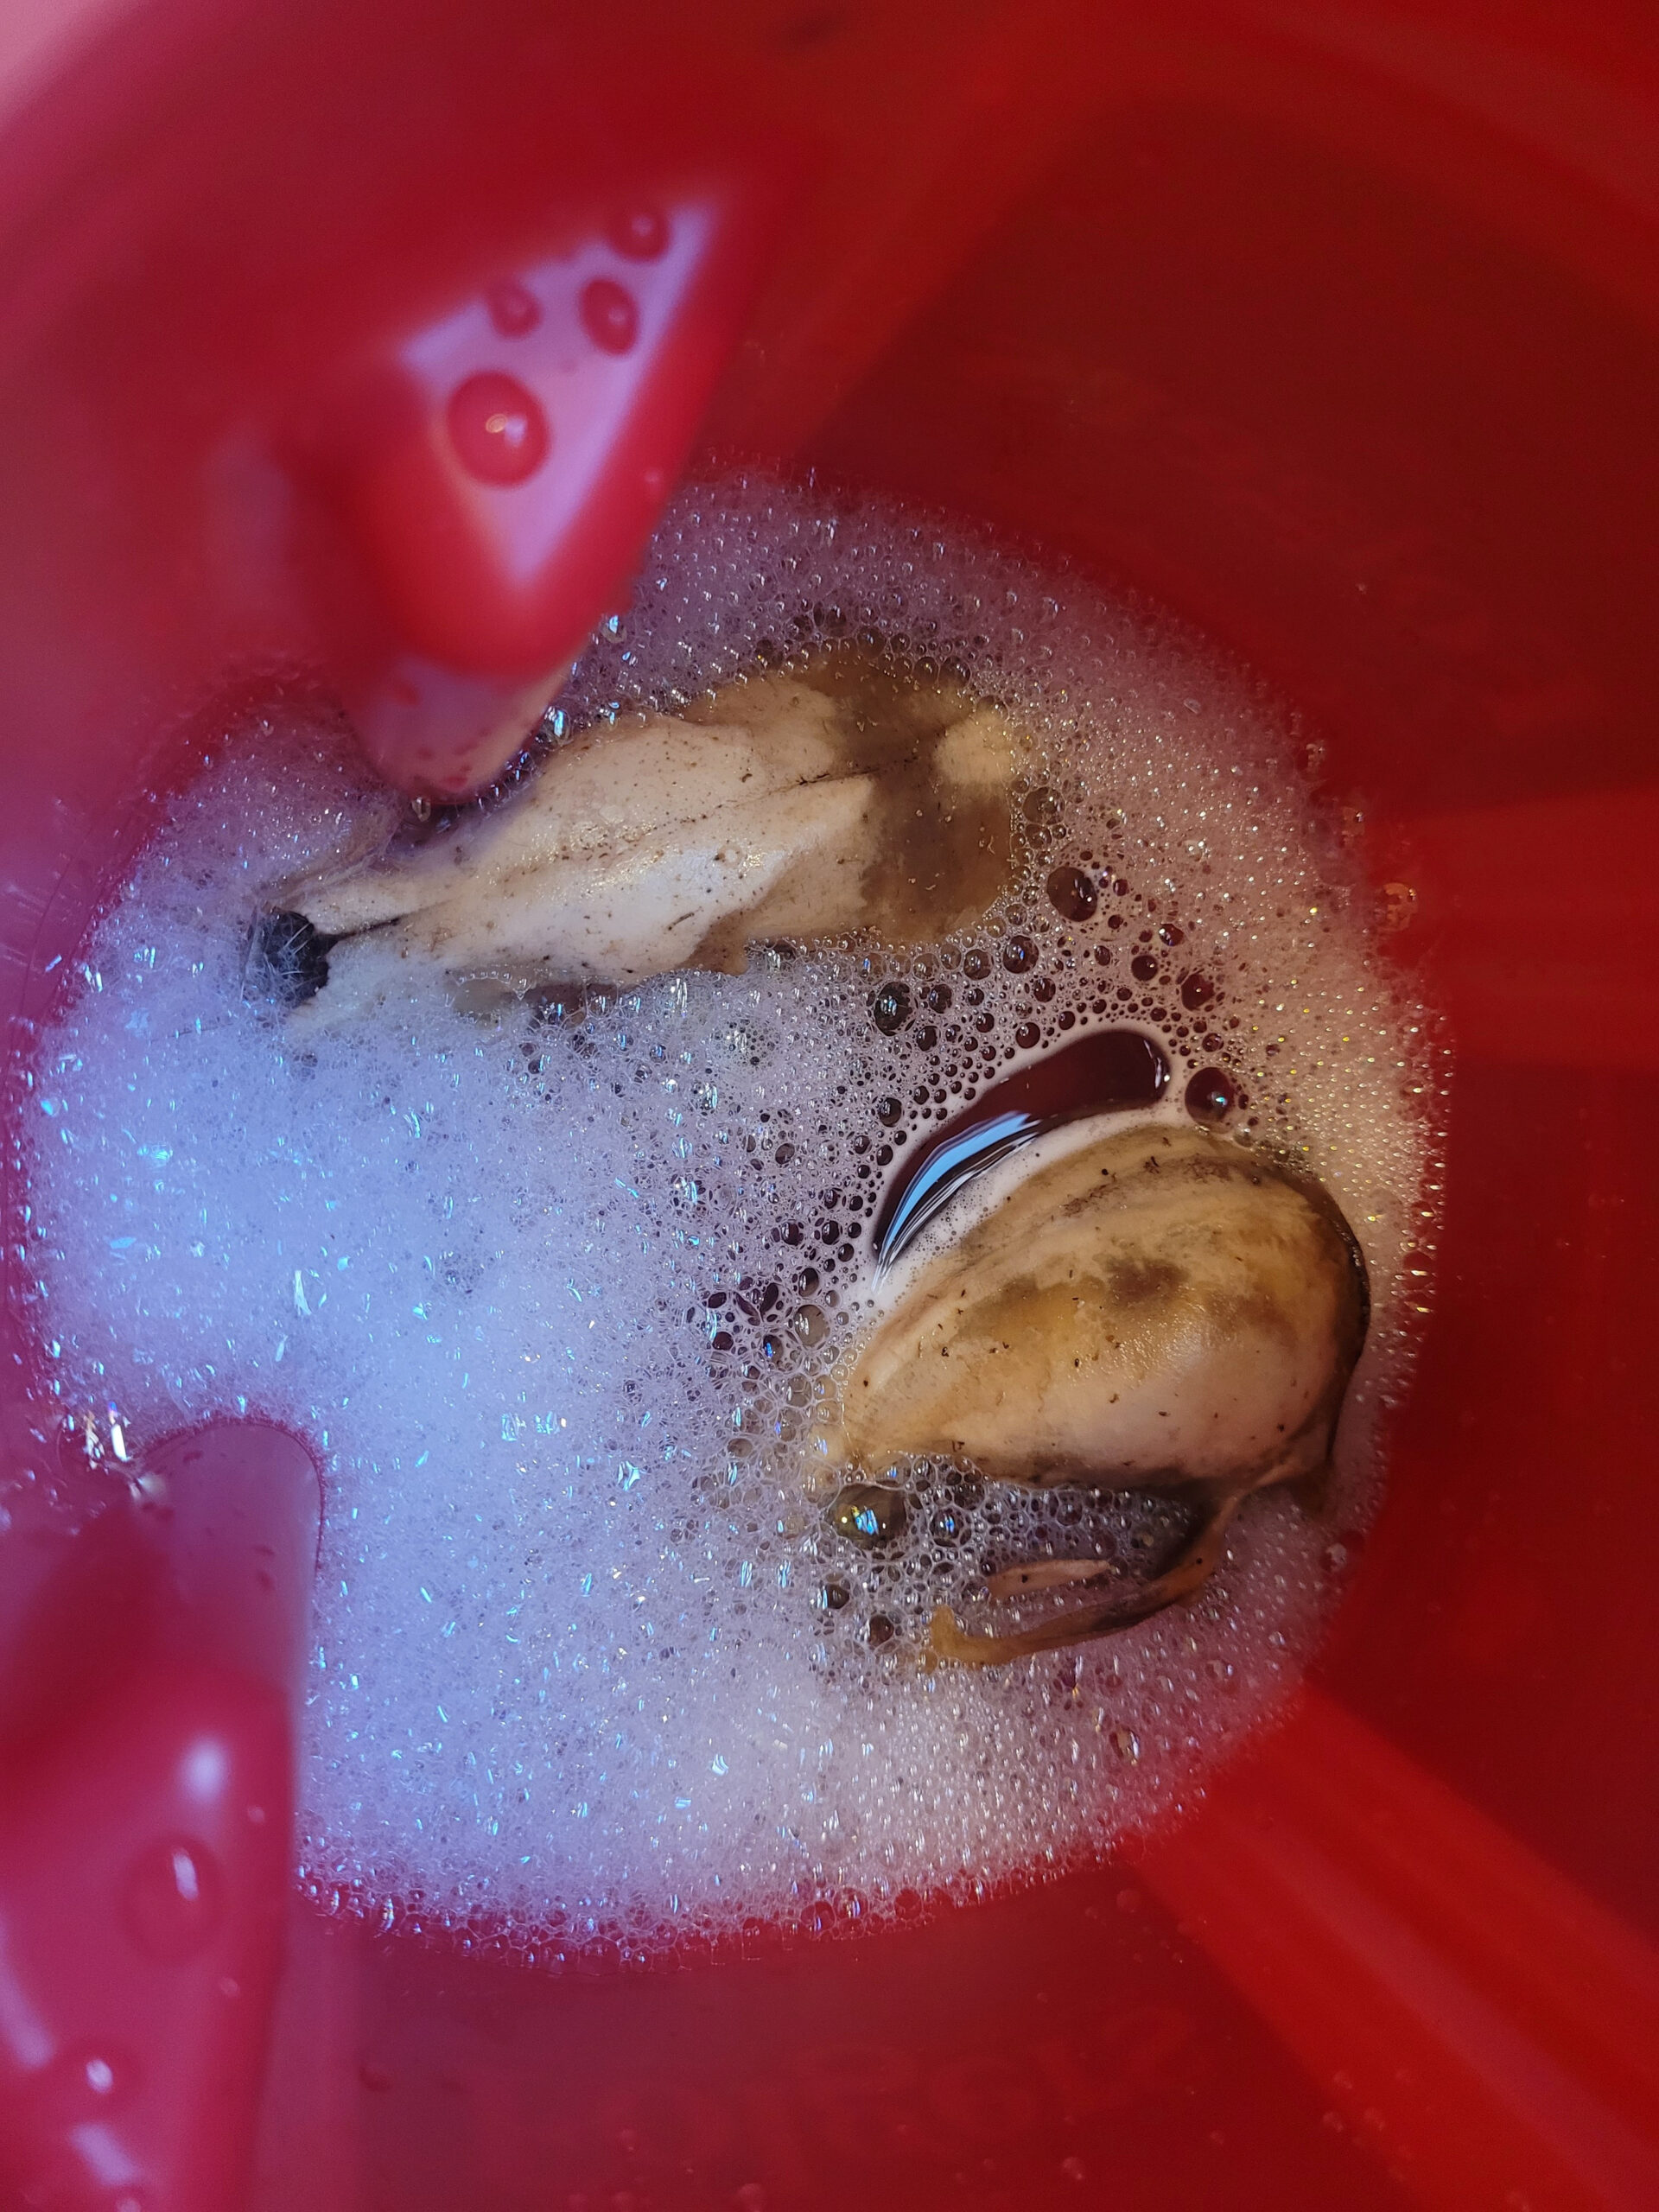
The best degreaser by far is Dawn dish soap, and is a professional favorite due to its abilities.
I like to use around ¼ cup in a 5 gallon bucket and maybe 2 tbsp. in a plastic coffee can or so. I usually just measure by eye so it may not exact, and the rest water.
Warmer water does work so much quicker, but is not necessarily a requirement, and does depend on how much effort you’d like to bestow.
Some have been known to enclose soaking buckets in handmade, wooden boxes surrounded with heaters to speed up this process.
I tend to soak my skulls in this mixture, making sure it is completely submerged. Now about 1 to 2 times a week, I dump the dirty water and replace it with a fresh solution.
You’ll know when it’s ready to do a water change due to the grease or fatty substance floating on the top of the water.
Depending on the type of specimen can determine how long your guy will need to soak, but count on him being in there 3 weeks to 3 months, changed out the water as needed.
At least twice a week. After last of the grease has been removed and the remaining meaty parts have been cleaned, it is now time for their peroxide bath.
Step 3. Give your specimen a long luxurious bath in peroxide
At this point, the specimen has been cleaned of flesh and brain matter (if it’s a skull), there’s usually a slight discoloration due to the fatty oils from the animal.
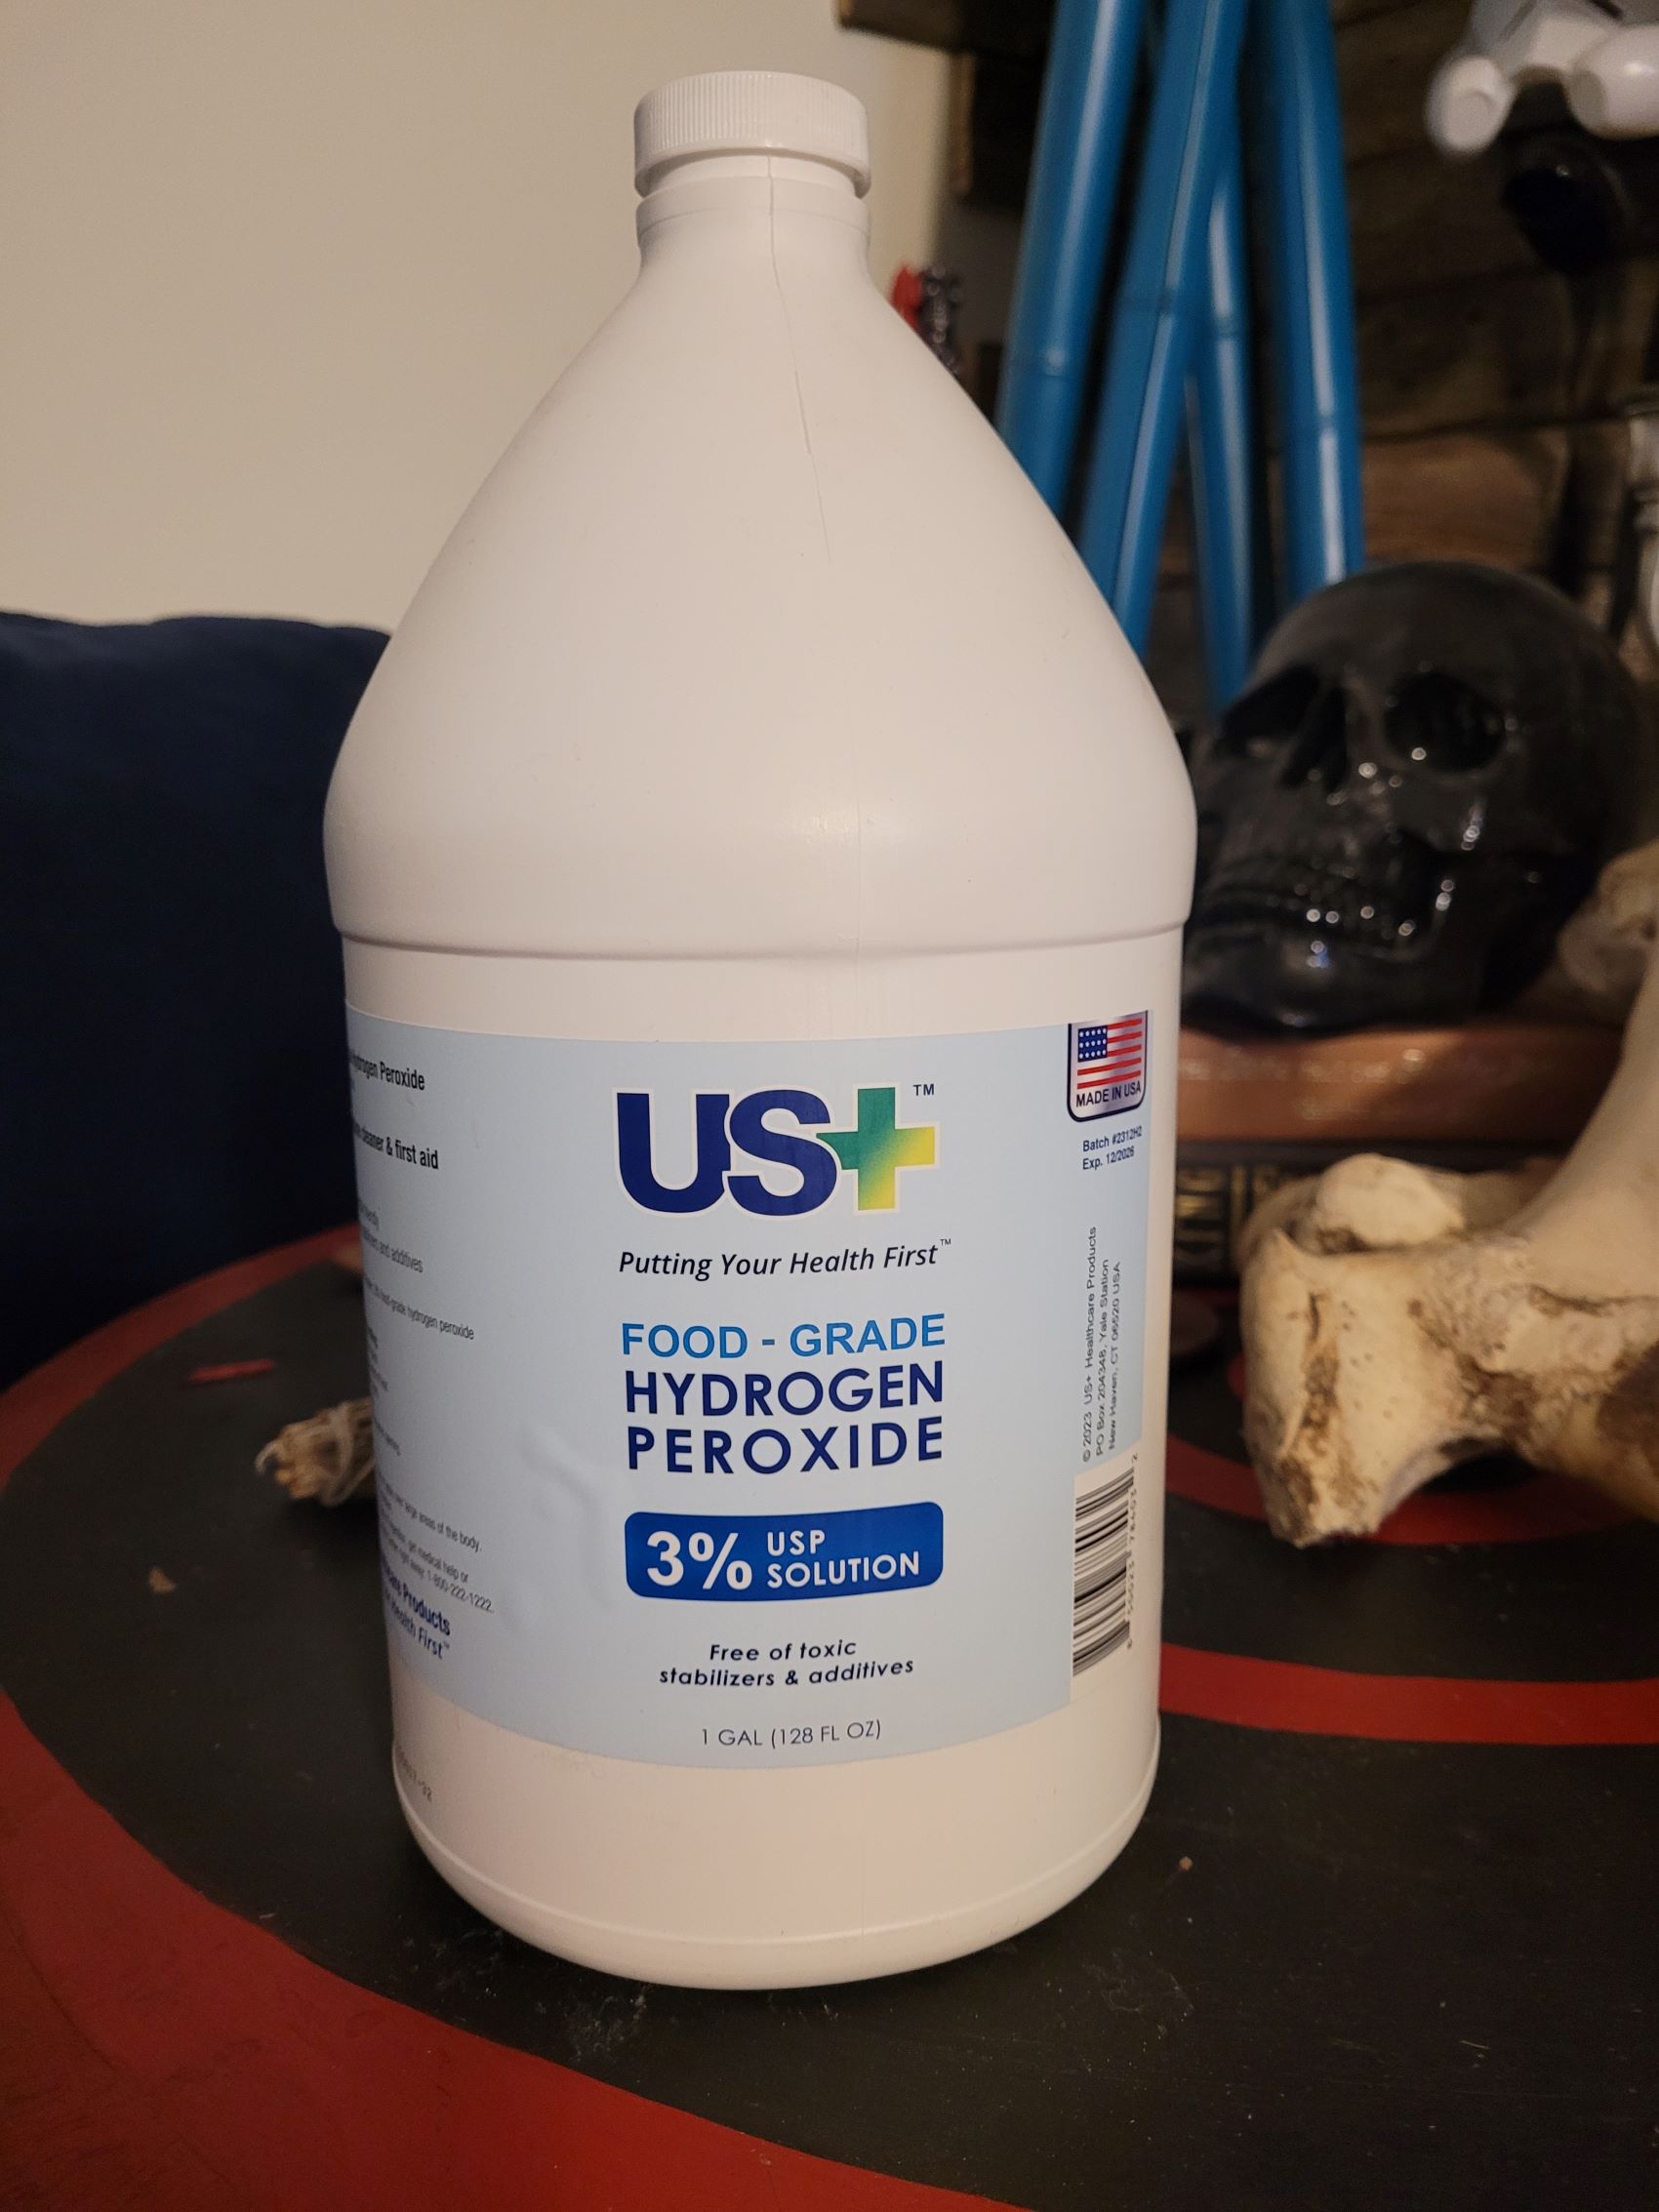
For this method of cleaning, I use Hydrogen Peroxide 3% solution. (AMAZON) I simply add the specimen to an appropriate size container, whether a large plastic storage bin, or a smaller plastic coffee.
These can work wonderful for smaller skulls such as raccoons or coyotes.
I like to cover the container while it soaks with the actual lid, or I’ve also used items such as plastic wrap to make a cover. I’ve cleaned deer skulls for friends, and it can be a bit difficult to cover those antlers lol.
I let the specimen soak for around 24 hours. Although, if I’m cleaning a new born or young specimen, I’ll take it out in less time due to the fragile nature of the undeveloped bone.
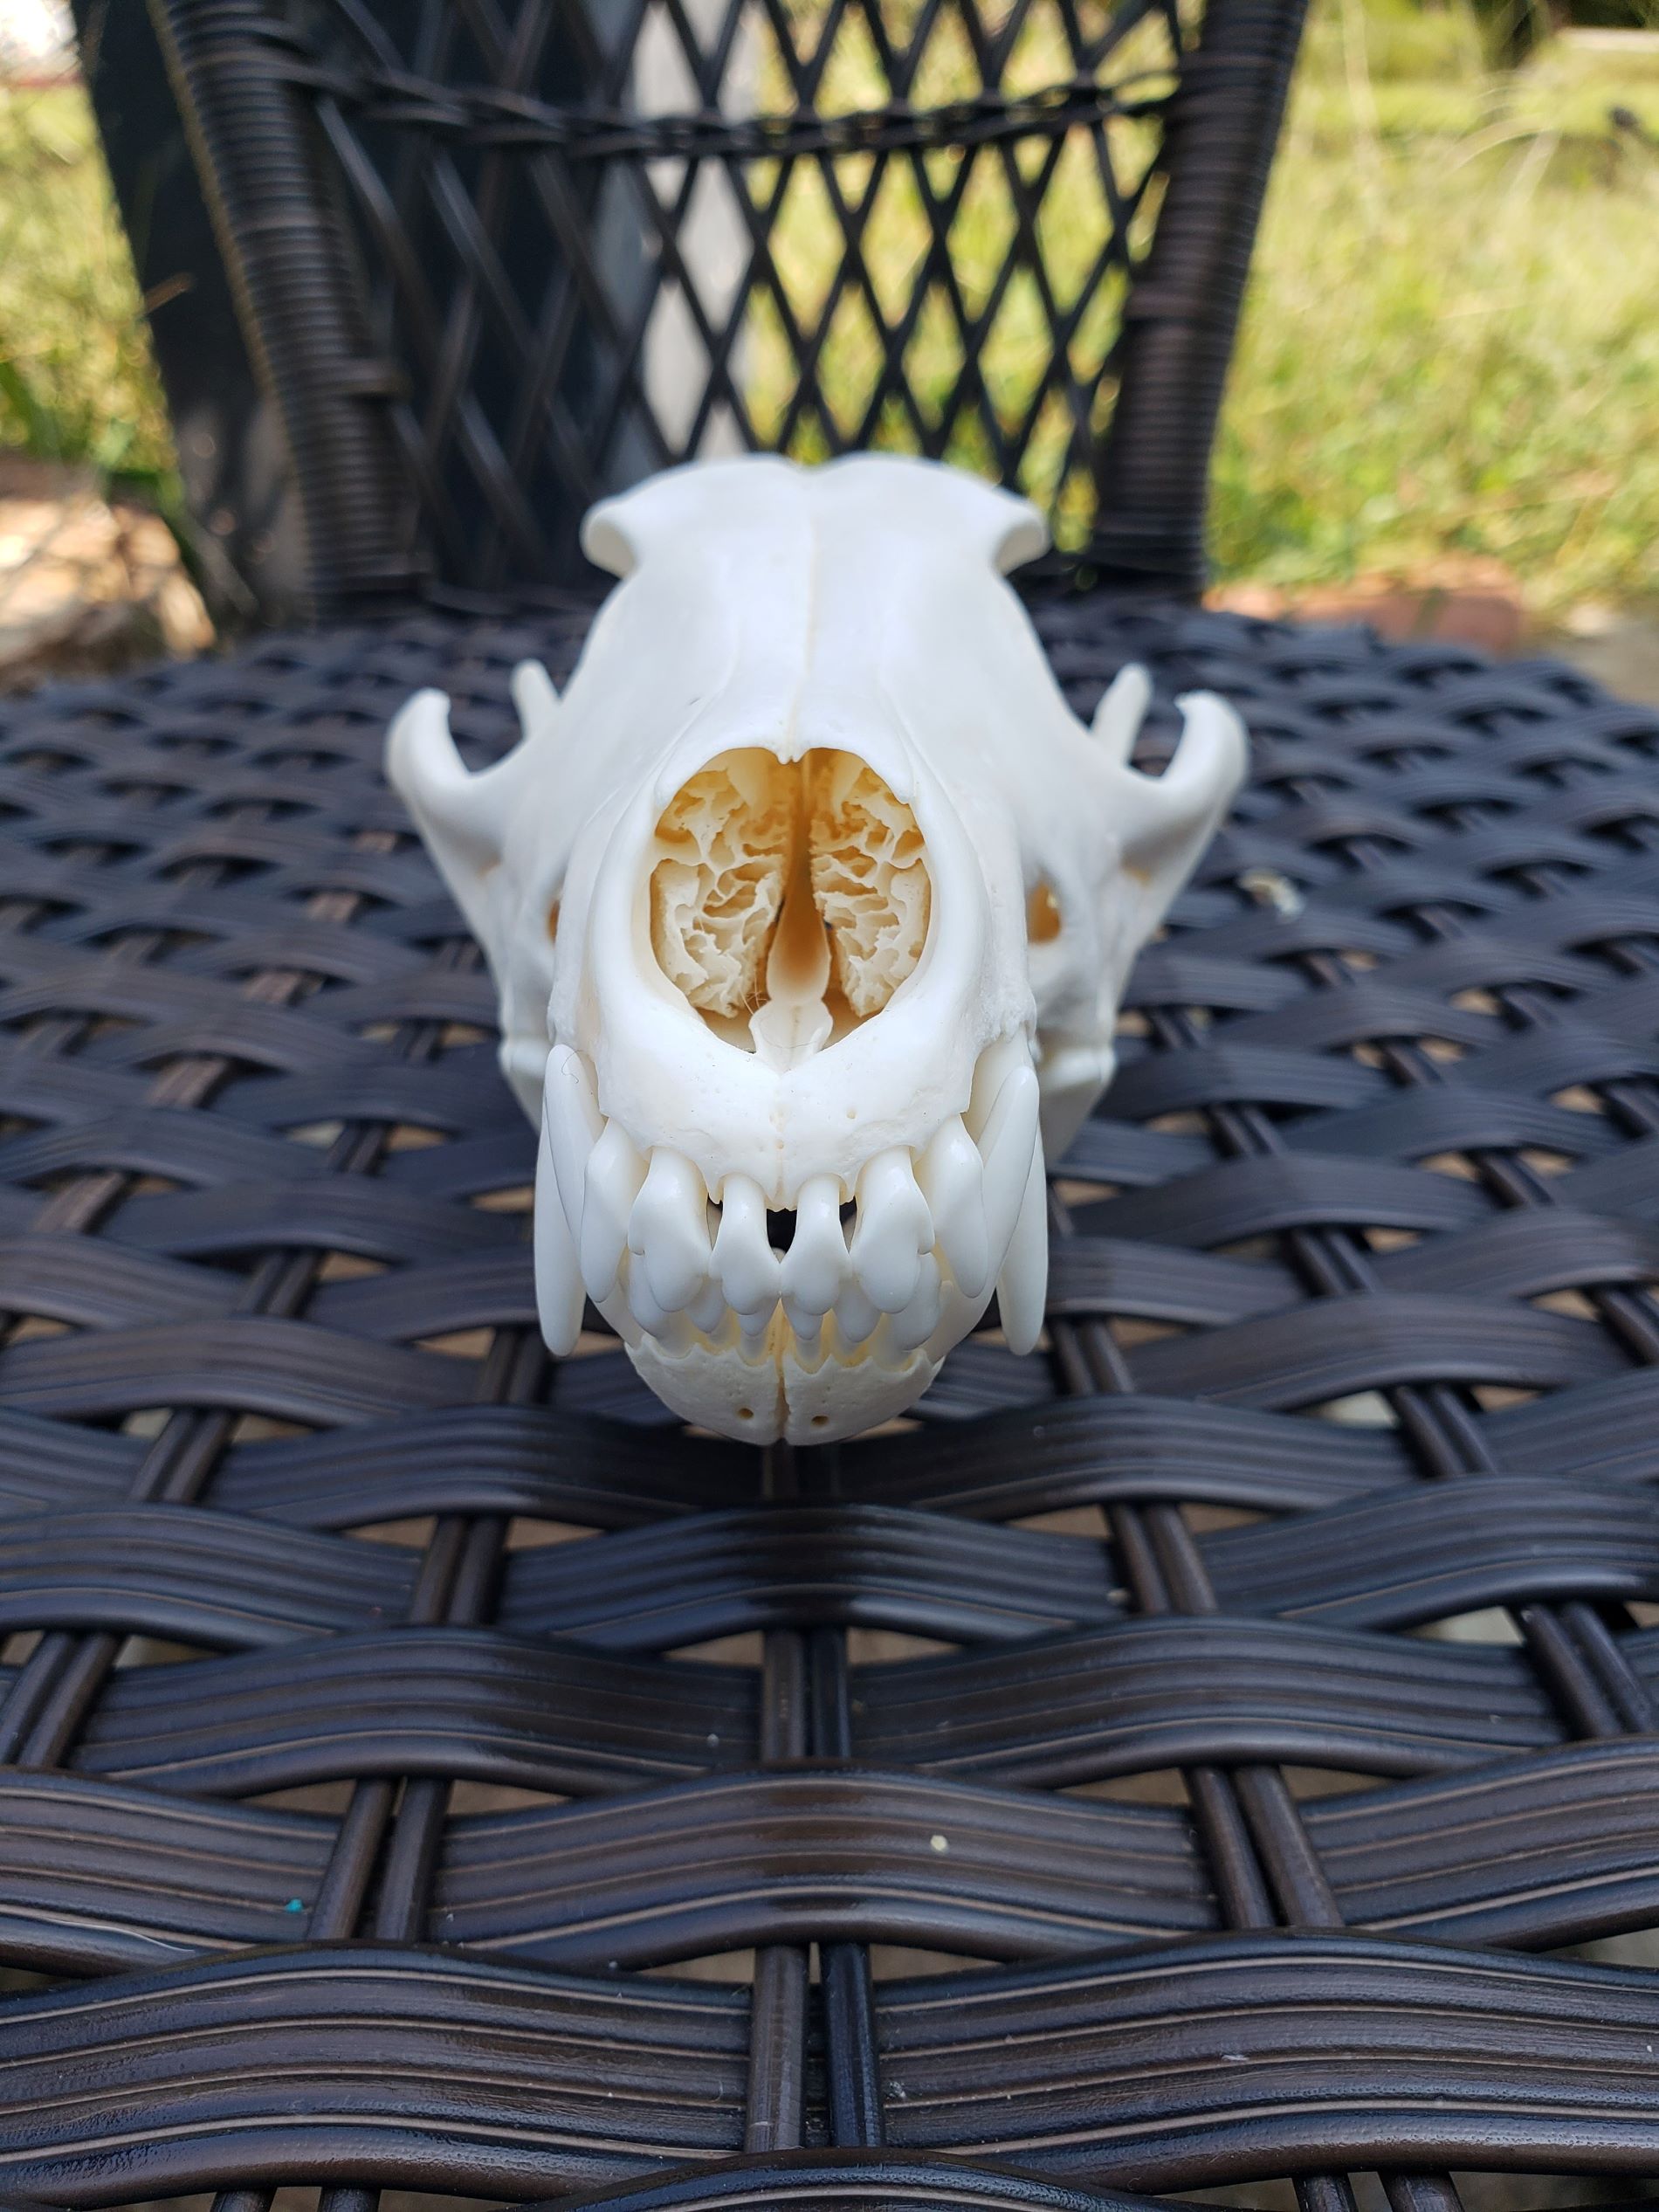
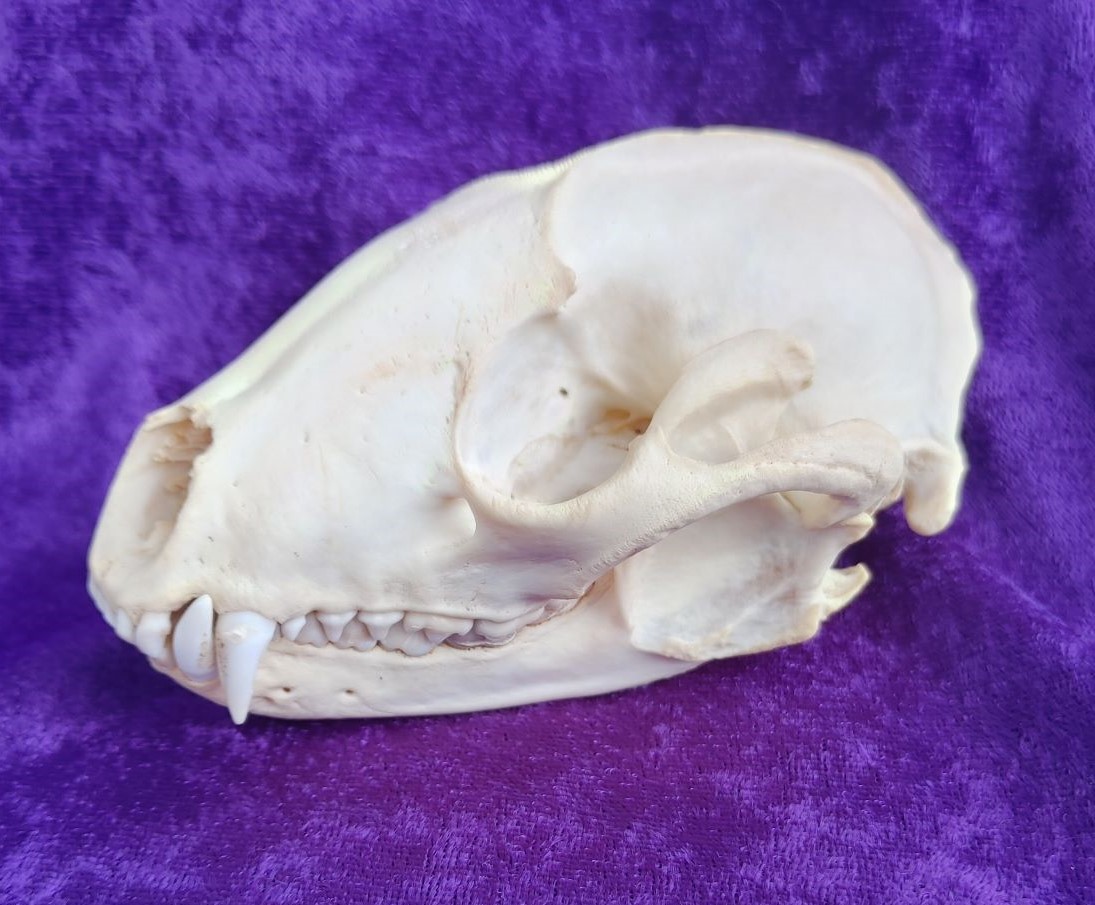
At this point, I take the specimen out of the peroxide bath, and dry it out. Ideally, I put the skull directly in the warm sun on a hot day!
The heat works with the wet peroxide and gives it a glorious white finish.
Even on a cooler day, the sun still works as an accelerant with the peroxide. The point is to just have a little heat for a whiter finish.
Now of course there are different methods on how to clean skulls & bones such as macerating and nature cleaning, but we’ll get to those in a later post.
Besides, I’m always learning new things from experience or from others. So make sure leave a comment, and let me know your best way to clean your bones.
Till we see you again!
Jackie

